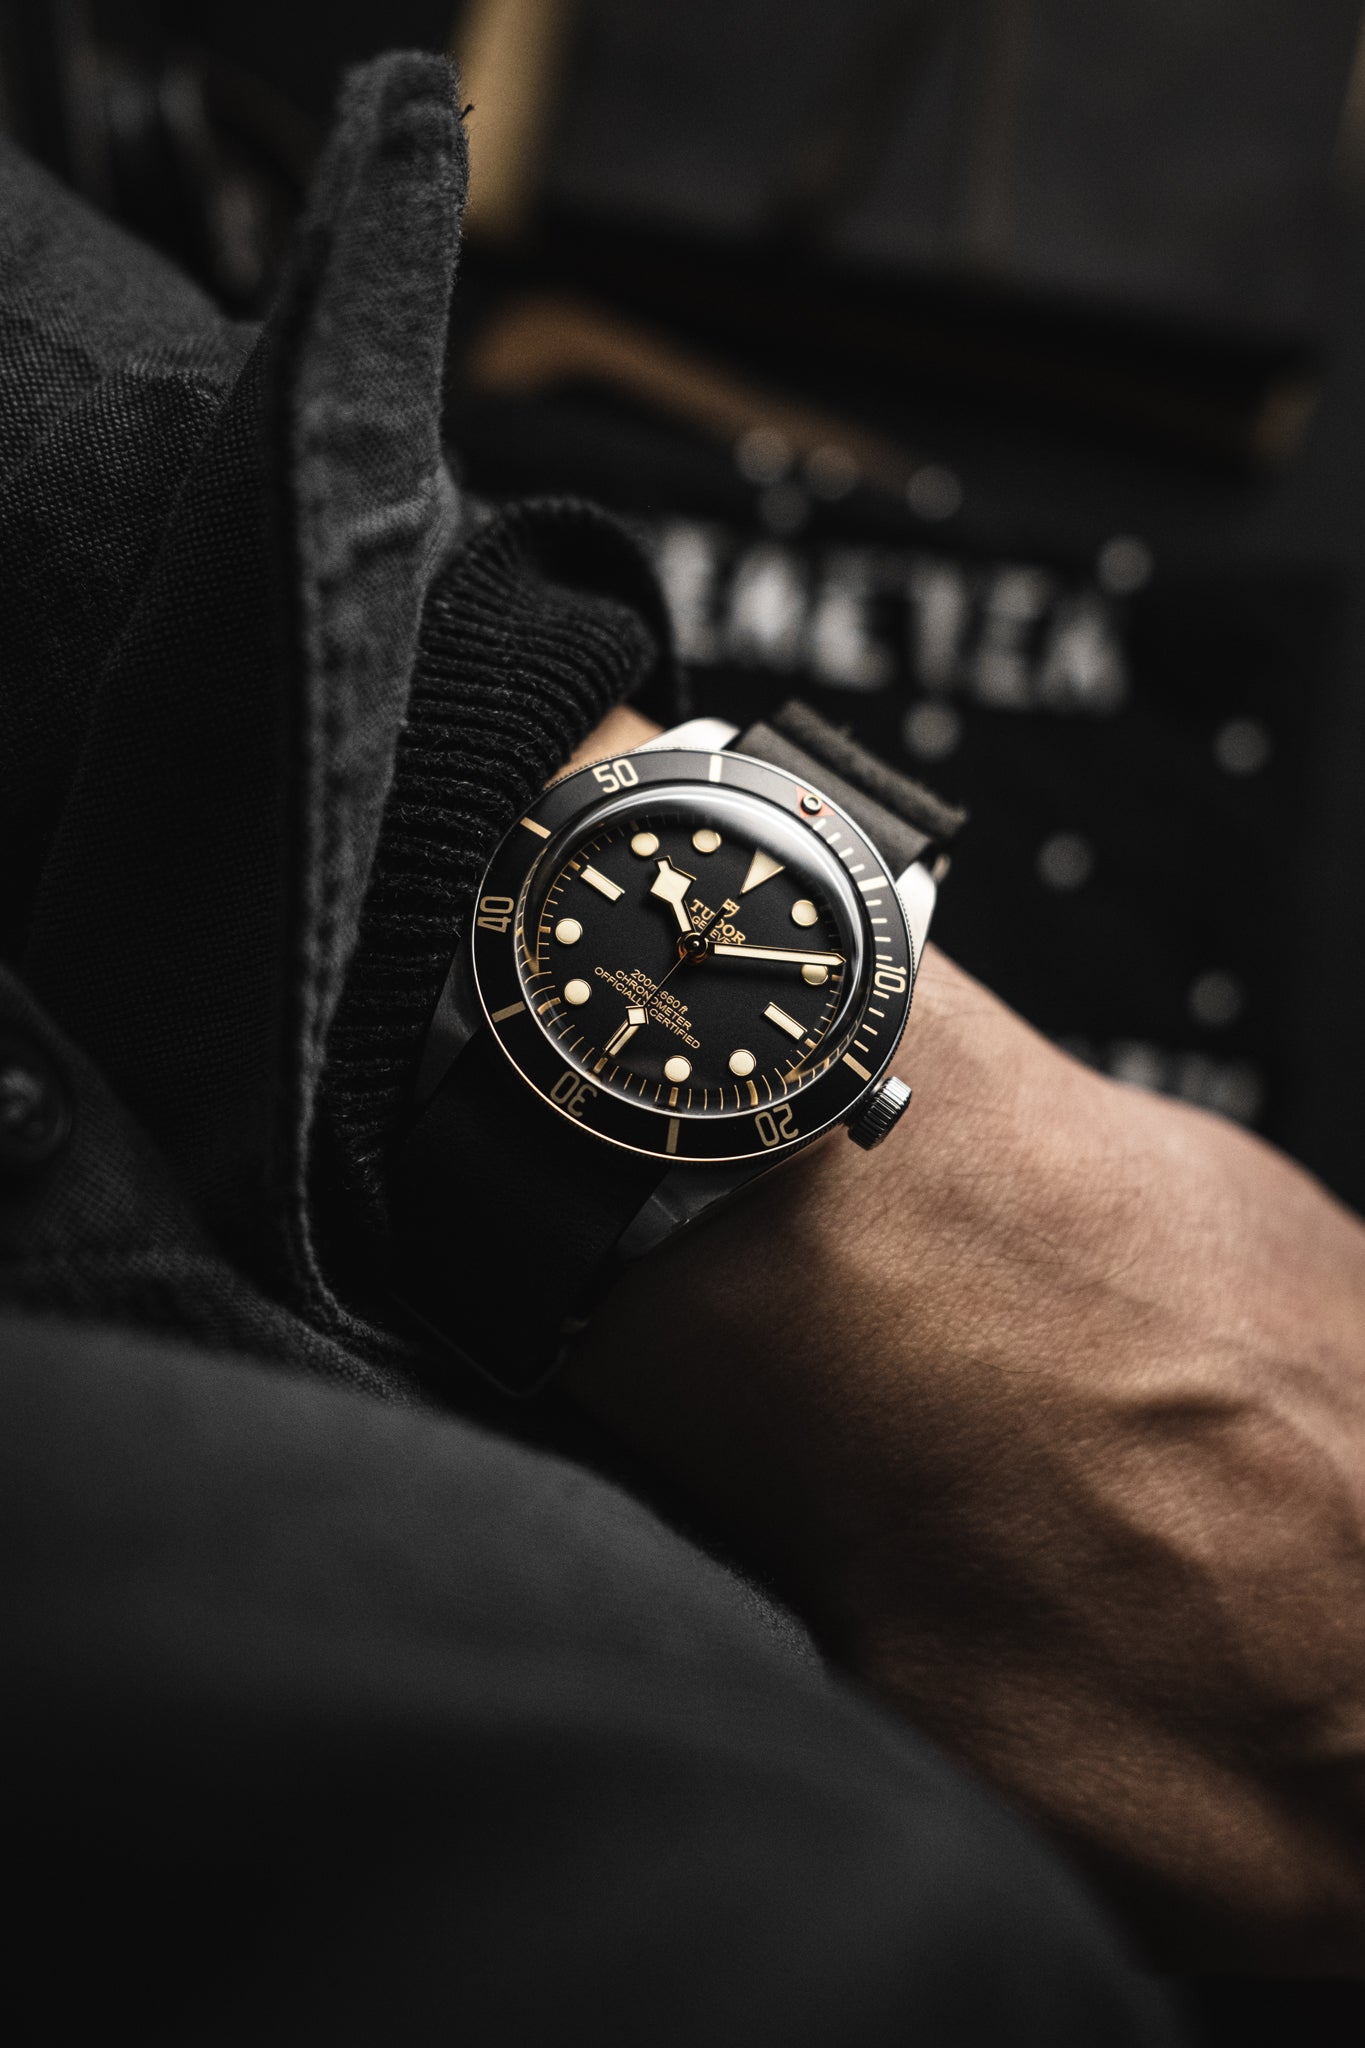
 From my original "How to take better wrist shots of your watches" tutorial.
If you’re starting out in watch photography, there’s a really good chance that a wrist shot is among the first shots you’ll attempt. In fact, depending on how far back your watch nerdom goes, your camera roll probably has at least a few dozen wrist shots from way before you even thought watch photography was a thing.
I posted my original wrist shot tutorial just a little over a year ago, and I’d make the case that it was my earliest claim to "fame” (extra emphasis on the quotes here). In the tutorial, I introduced a simple concept called parrot shooting, which lovingly became the parrot shot as the community took ownership of it. Today, it’s probably one of the most commonly used techniques I see across the #watchstudies community. I’d be lying if I said I didn’t love it!
"It sounds silly and can require some minor contortions, but it works exceptionally well."
Since the original tutorial only ever appeared in story format on Instagram, I wanted to revisit them today and bring them up to par with the rest of my tutorials. For many of you, consider this a refresher on the parrot shot that you know and love. For many more of you (less than a quarter of you were following me back then after all!), treat this as a crash course on levelling up your wrist shot game. Enjoy!
What's a parrot shot?
The parrot shot is a style of wrist shot that adds depth to the composition by capturing more of the details in the clothing that leads toward the watch. This gives a wrist shot more dimensionality and provides a more intimate first person perspective of your timepiece.
The technique behind the parrot shot is rooted in shooting from the shoulder, as if from the vantage point of a parrot sitting up there (hence the name!). It sounds silly and can require some minor contortions, but it works exceptionally well.
Best of all, it works for both cameras and phones and only requires 3 simple steps.
Step 1: Find some folds
To maximize the effects of the parrot shot, wear clothing with lots of folds and textures. Knitted sweaters, button ups, and jackets work especially well. Scrunch and bunch as needed to create some interesting shapes!
 Clothing with folds and textures always get the most out of the parrot shot technique.
Step 2: Position your wrist
With your watch on your wrist, bring your arm up to a comfortable height and keep it close to your body. Your forearm should be gently grazing the fabric of your clothing.
 Keep your arm close to the body and comfortably elevated.
Step 3a: Position your camera
Rest your camera on or near your shoulder and shoot down toward your wrist. The camera doesn’t have to actually have to be touching you, but it helps for stability. The goal is to capture all the folds and details of your clothing between your shoulder and watch in order to create depth in the frame.
 Parrot shooting from my right shoulder using the Fujifilm X100V. The 23mm focal length gives me the ideal framing for my wrist shot.
You can shoot from either direction (or even the top of your chest) as long as you can hold the camera comfortably and glance at the viewfinder sufficiently to place the focus point on your watch.
 You can also shoot from your left shoulder or even the top of your chest for different perspectives.
Step 3b: Position your phone camera
Shooting with your phone is pretty much the same with one crucial adjustment: flip your phone upside down! This allows you to place the lens of the camera much closer to the body, which helps you capture far more depth. Don’t forget to rotate the image after you take the shot!
 Pro mobile photographer move: hold the phone upside down so that the lens is closer to your body.
 Position your phone up near your shoulder to find the best angle for a wrist shot.
That’s it!
Find the angles that work for you and try not to strain yourself! Results may vary for everyone, but you should end up with shots that look something like these:
 Parrot shots from the left shoulder (L), chest (M), and right shoulder (R).
 Parrot shot from the left shoulder.
 Parrot shot from the chest.
 Parrot shot from the right shoulder.
The Parrot Shot Reference Guide
Looking for inspiration before diving in? Make sure to check out some of my favorite examples from the community in my Reference Guide for the parrot shot.
 Reference Guide: The Parrot Shot
And if you're putting the parrot shot to work for yourself, make sure to tag #watchstudies with your results! I'm always looking out for fresh examples to update the guide with.
Thanks for joining this edition of Study Club! If you enjoyed today’s tutorial, you may also enjoy this related content: